How to prevent an image from being cropped? See below:
Sometimes, an image is automatically cropped too much. To ensure that the image can be displayed at its best on the webpage, there are 2 ways to do so:
1. Set up a focal point for an image
It ensures that the most important or visually appealing part of an image is visible when it is cropped across various ratios of screens and devices. This feature is available for all the images in the media panel.
How to turn it on?
*)Step 1: Click on the image that you would like to edit. For example:
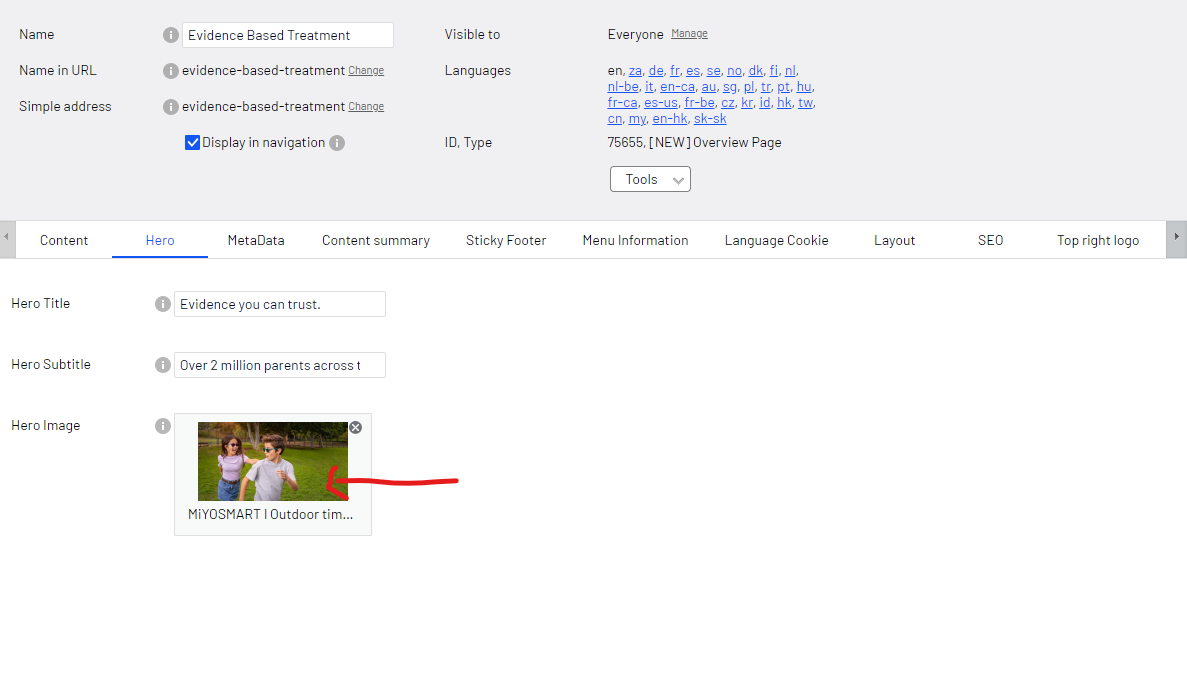
*)Step 2: A pop up will appear to log in into your Marketing Hub account.
*)Step 3: Click on the three dots of the image and look for adjusting the focal point.

*)Step 4: Click Save/Publish changes.
Note: This image will be focal pointed for wherever the images is being used, including the global/local Hoya Vision pages.
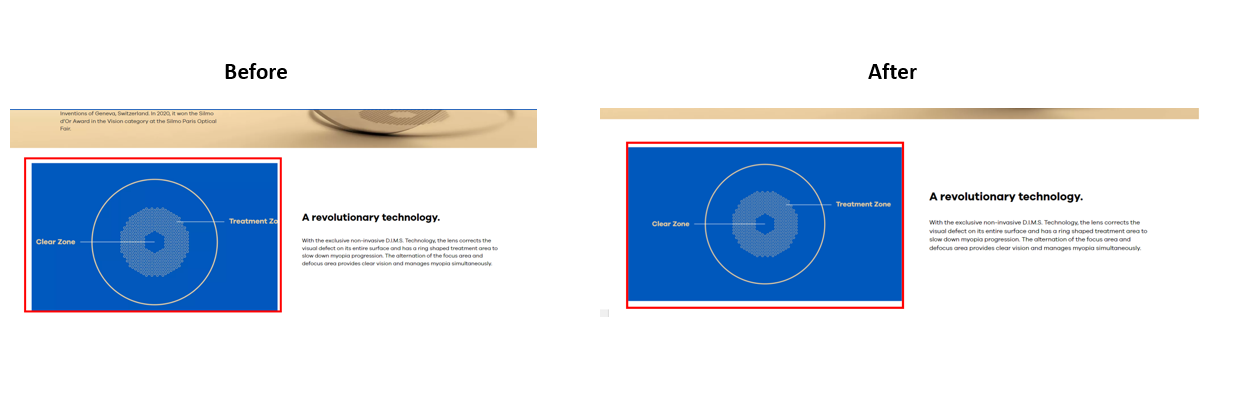
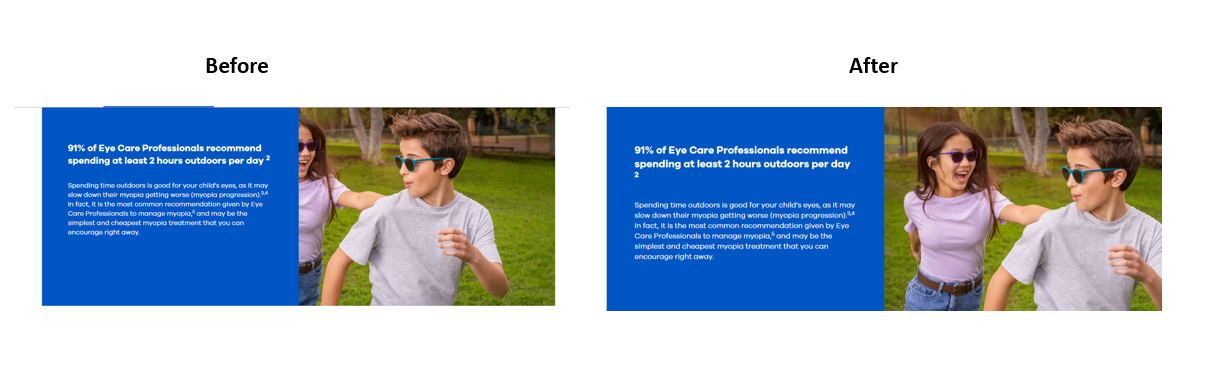
Comparison of Before and After using Focal Point:
2. Set up contained image
The contained image will be shown in its entirety (with padding to fill the container if needed). Note: the contained image will not be cropped and therefore will not support the focal point.
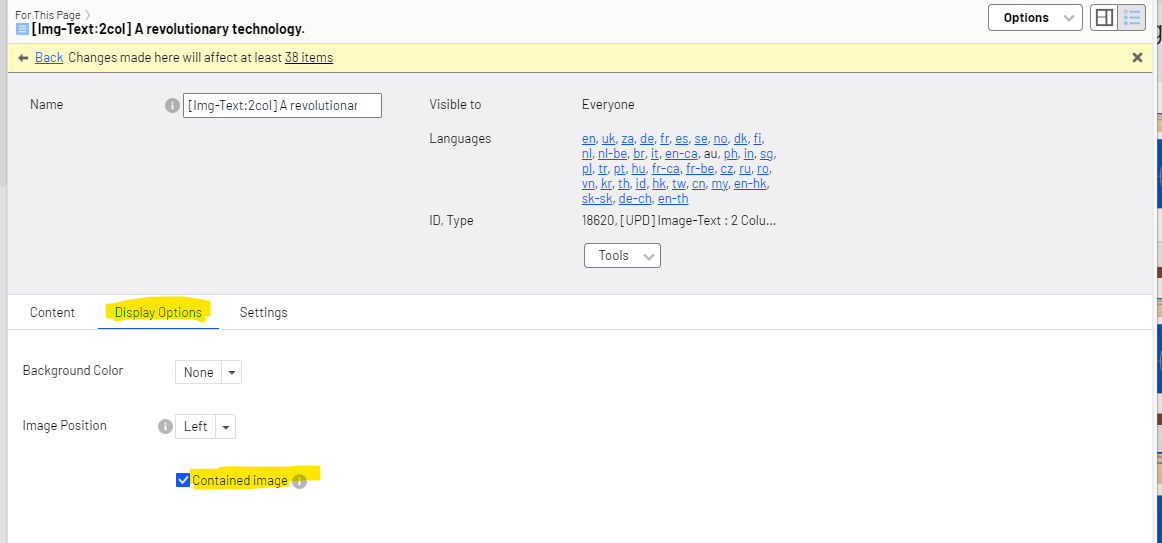
Available block for this feature:
- [UPD] Image-Text : 2 Column Side by Side
How to turn on this feature?
You can find it under the [Display option] tab of the block
Comparison of Before and After using Contained Image: